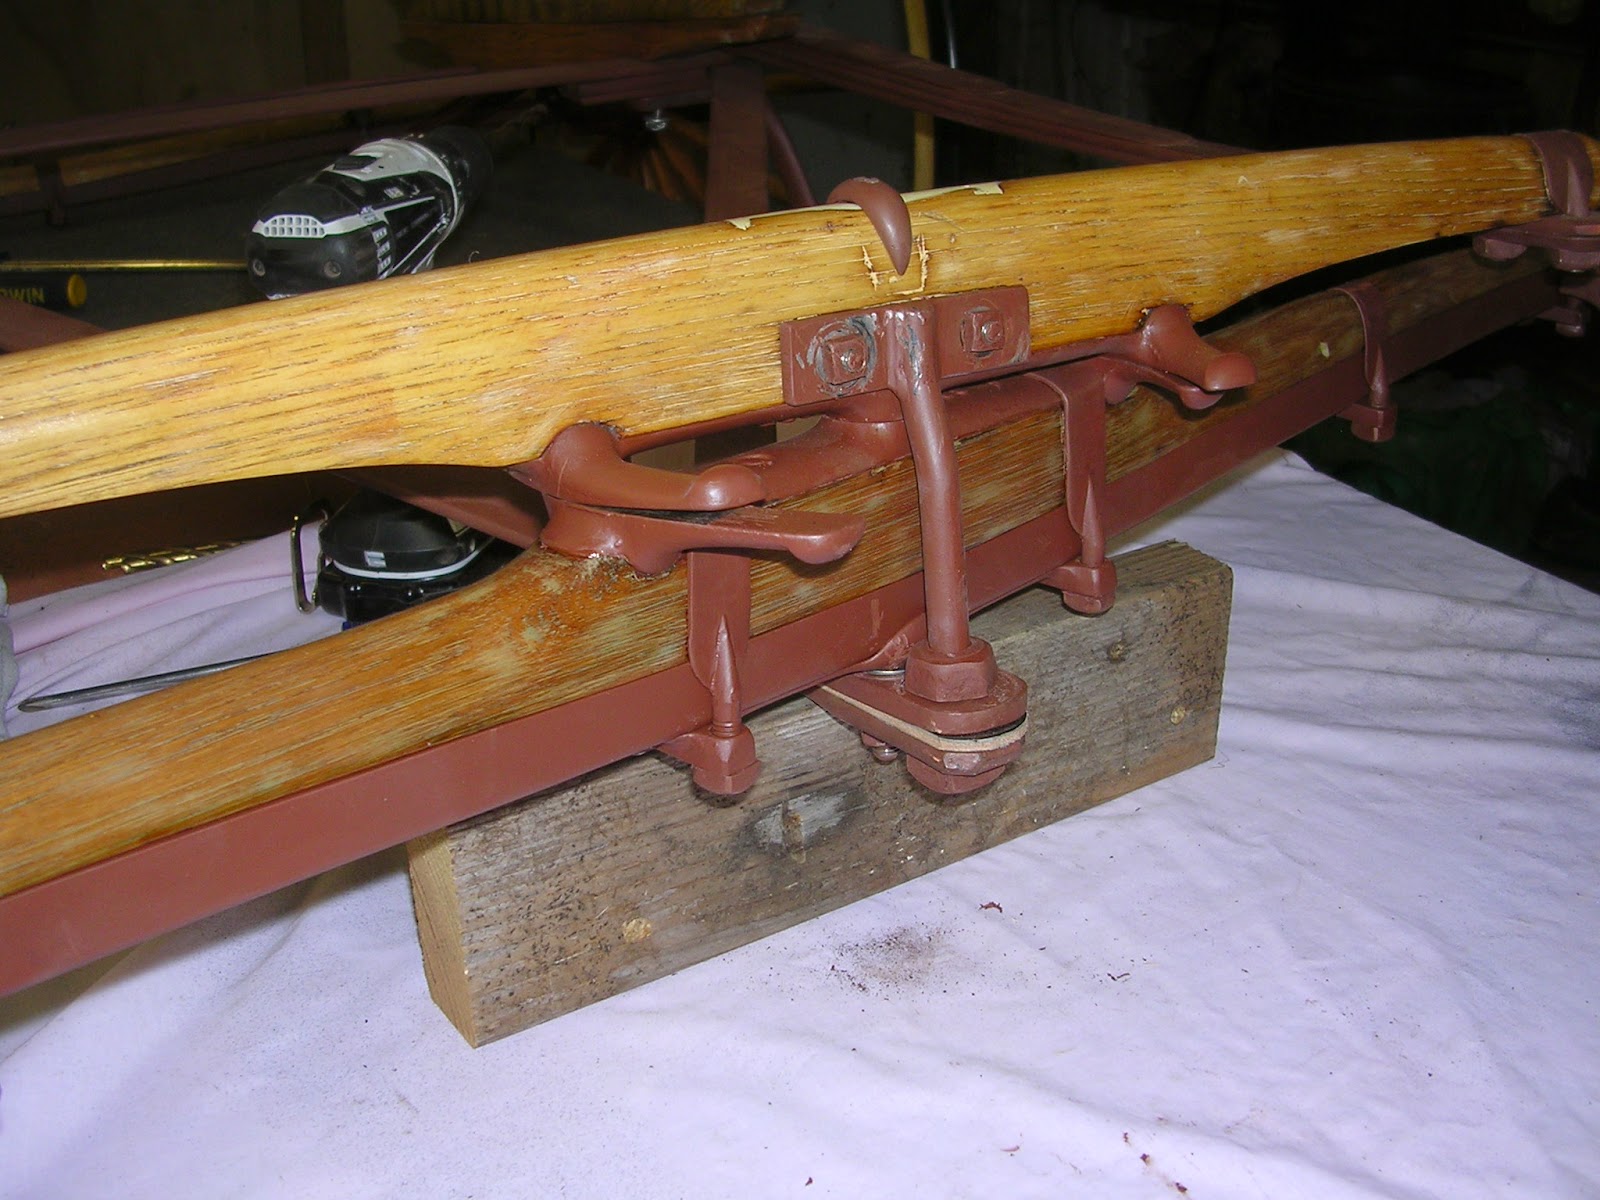
Starting with the spring bar. I chose to strip the paint off the spring bar with chemical stripper. I tried the torch, but there was a different sort of primer on the spring bar which resisted heat. And, I was concerned about burning the delicate scroll ends of the spring bar with the torch.
I filled the damage caused by the T-head king bolt with Pettit's EZ-Fair marine epoxy fairing compound. Look at that lovely wedding ring head on the new king bolt!
Next, everything, including the upper half of the fifth wheel (which is still attached) gets smeared with automotive spot putty. Makes a great grain filler and repairs small nicks.
I chose to leave the upper fifth wheel half attached to the spring bar because it is held on with several screws, all of which would be virtually impossible to extract. I could not identify a single reason to take it off.
The spot putty dries quickly and sands easily, leaving a surface that should require no further filling prior to painting. The wood receives a coat of Pettit's Clear Wood Sealer and the metal fifth wheel plate receives a couple of coats of primer. When dry, the spring bar will be ready to bolt up to the springs.
The two little carriage bolts that hold the perch bolt to the front of the spring bar are extracted, cleaned up, pronounced near perfect condition.
The spring bar is mounted! Oh! It is NOT attached to the end of the wishbone, just the long springs at each end.
The Front Axle
The very, very, very LAST part of the carriage to be stripped of paint, the axle cap (sometimes called axle bed) held one more little pleasant surprise for me. Just before I could wipe the paint stripper away completely, the original black paint, with brilliant yellow stripe, was revealed! I had suspected the gear was originally black, here was finally proof. The evidence of yellow striping was frosting on the cake! This photo shows the last remaining speck of yellow fine lining.
Well, I may be reversing the color scheme, black striping on yellow gear, but apparently the original owner and I had something of the same taste!
Oookaay, count down! The brown bar in front of the spring bar is the steel axle. All its parts have been stripped and cleaned in the usual manner. And yes, Houston Hay made this axle too!
The wooden axle cap (also called axle bed) has been stripped, cleaned, patched, filled, sealed and primed in the usual manner and placed on top of the steel axle, aligning the king bolt holes...
Ironed up...now, WILL IT GO BACK ON?
In order to get it on, I have to elevate the spring bar and push the end of the wishbone down, tip the king bolt sleeve on the axle into the rear hole of the wishbone and hope like heck that the king bolt holes in the spring bar, various pieces of hardware and the axle line up with the holes in the overlapping ends of the wishbone! I don't for one minute believe I'll get that lucky!
However...it plopped right into place! Just like that!
And most amazing of all - or perhaps not, given the talent of the blacksmith who did the work - the new perch bolt mated right up with its two mounting holes in the spring bar, and the holes in the ends of the wishbone.
The gear is DONE.
Just to torment myself one last little bit, I fitted the bolsters back onto the springs. They were BEASTLY to take off, and beastly to get back on...particularly the one at the bottom of the picture. It is no longer so beastly. Since they have to come off again for painting, I cleaned up the fit and made them easier to get off and on.
And that, dear friends and fellow carriage enthusiasts, is IT, for the time being. I still have some tweaking and touch up, and two wheels to finish sanding, but nothing blogworthy.
The little carriage is all repaired and stabilized and will go back under a shroud until painting weather. I hope you'll join me again then! Thank you all for sharing this adventure with me!


No comments:
Post a Comment