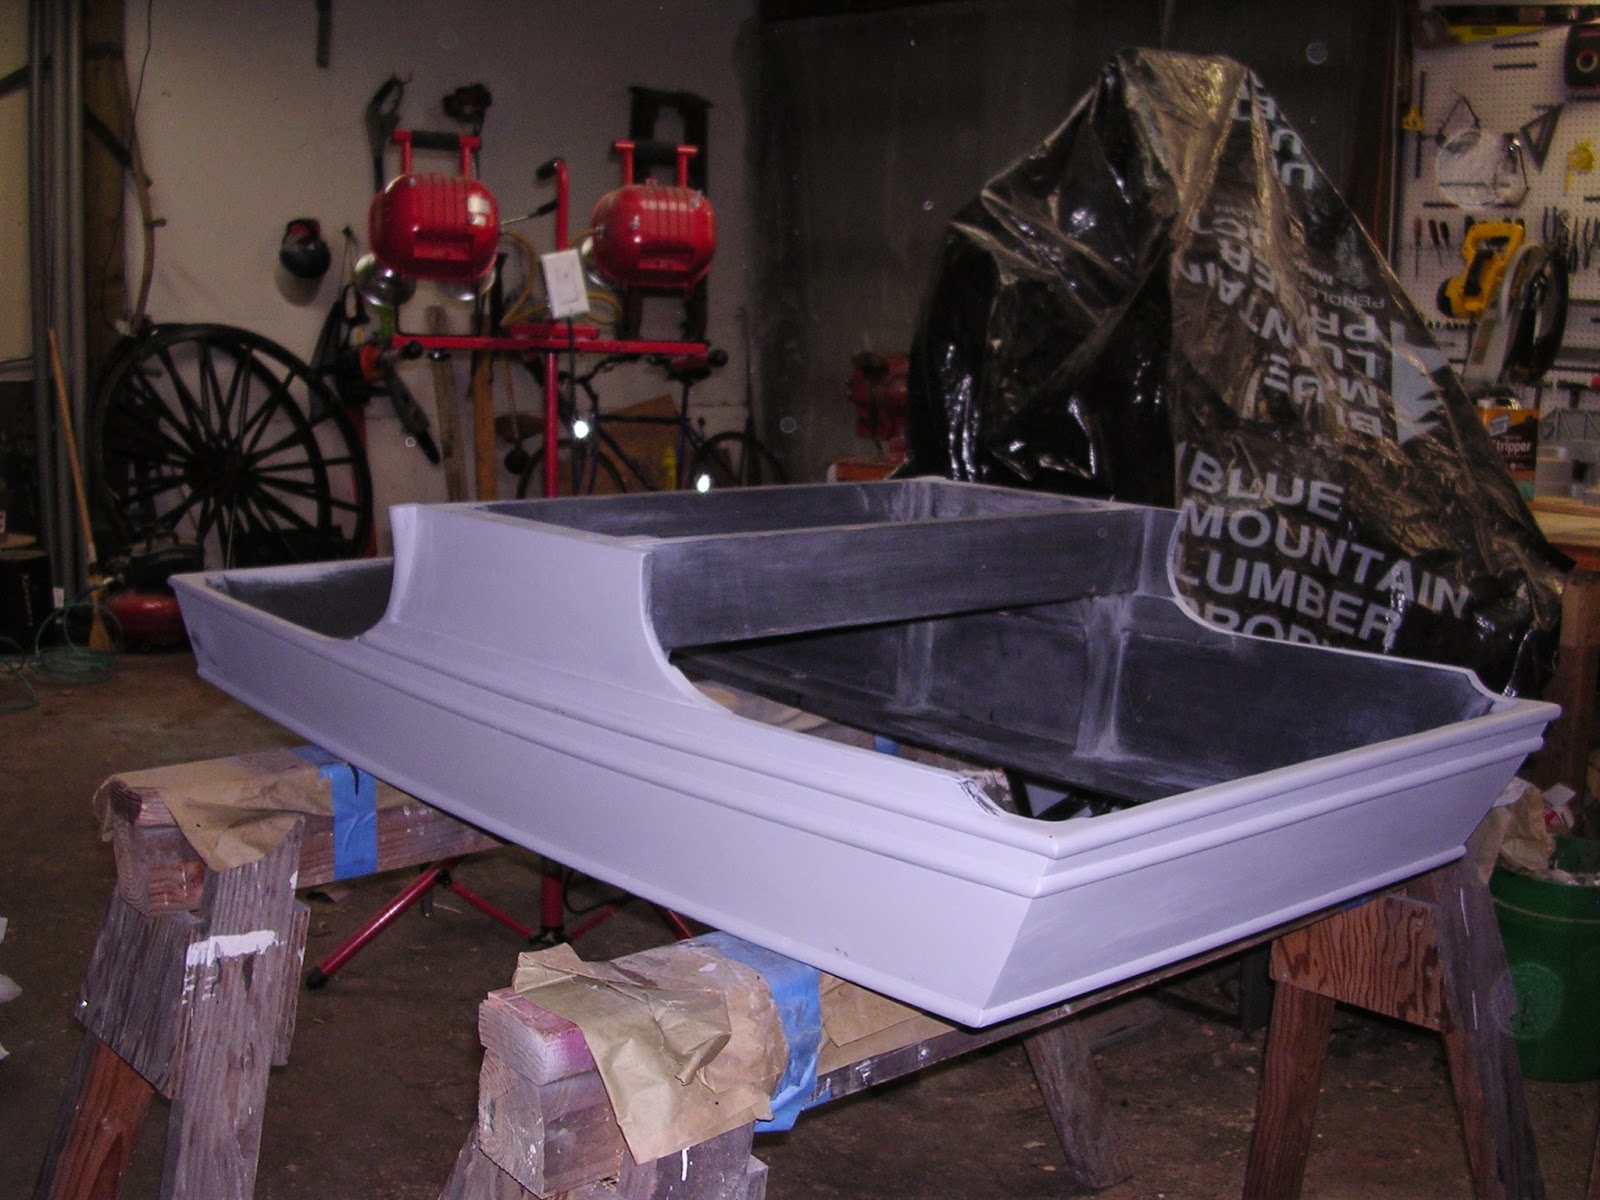
Now it is mid-January, 2015. Here in the Pacific Northwest of the USA, it is cold and clammy.
I have decided that I will not risk attempting to paint until the weather improves. A LOT.
So the body will go into storage along with the seat, and I will begin working on the running gear!
Thinking about spray painting...
I have found all sorts of reasons for the difficulties I have had spray painting in the past. They all point to faulty air supply. The compressor is barely adequate to power the HVLP guns, and there are any number of restrictions of the air volume between the compressor and the gun. So we will spend some time upgrading the hoses, etc. before I even THINK of hooking up a spray gun!
Unless I'm painting the house, I never want to look at another paint brush again.
Work begins on the gear...
Before I start much of anything on the gear, it was necessary to finish assembling the all new (wood and steel both) shafts, because I wanted to hitch Spunky to the gear to see if everything's going to work. So today was partly spent mounting the singletree. I had a nice antique singletree yoke that I was able to make work.
This is one of the couplers (upside down) which attaches the shafts to the axle. The new shaft eyes were too wide to fit the old couplers, so I had to grind the eyes down to fit. I have new shaft couplers, but the old ones fit the axle so nicely, and I won't have to try forming the new couplers over the axle and its wood cap. Threads and bolts are actually in excellent shape, albeit a tiny bit rusty.
Then it was out to the carriage shed to fit the shaft couplers back onto the axles.
An oversight that I made was to not trim the shaft evener tenons to the same length as the old ones, in order to match the width of the old shafts. You can see here that the new shafts are wider, by looking at the rusty mark to the right on the axle. Because the shafts are wider at the rear, I had to re-position the shaft couplers on the axle.
No, I'm not going to do anything about it now. I just have to be particular about which way I insert the bolt, because the bolt head interferes with the hub now. I'll probably go to quick connects anyway. I WILL have to do some cosmetic work to the wooden axle cap, but that was already "out there".
The carriage gear is rolling on her own wheels!
A view from the rear, showing this unusual gear.
There is no reach. The front and rear axles are attached to one another via these rather bizarre springs. Yes, the outriggers are part of the springs!
You can see that the two main longitudinal springs bolt solidly to the rear axle, then go forward and bolt to a spring bar. The two transverse steel bars in the center are where the body bolsters bolt to the running gear. The body and bolsters fit BETWEEN the springs.
A view of the top-center of a spring, with its built in rub iron. I'm pretty sure it's supposed to be a rub ROLLER, but the roller part is rusted solid. When the rubber tire of the wheel contacts this iron, the wheel stops DEAD and it would tip the buggy in a heartbeat! I rather doubt I can salvage these things (of course I'll try), and if not, will install new rub rollers.
The scroll ends of the spring bar are both perfect, no chips.
Looking straight down at the front axle, fifth wheel and the ends of the springs. The king bolt is a nice Tee-bolt but it's come loose from its moorings and the cleats at the ends have raked some good tracks in the wooden axle bed. All stuff to be dealt with in good time.
A shot of the antique singletree yoke.
So, since the wheels have already been professionally refurbished, really all that remains is disassembly, inspection, cleaning, and all the attendant cosmetic work. By the time spring (or maybe summer) arrives, the entire vehicle should be ready for me to torture with the paint gun!


No comments:
Post a Comment