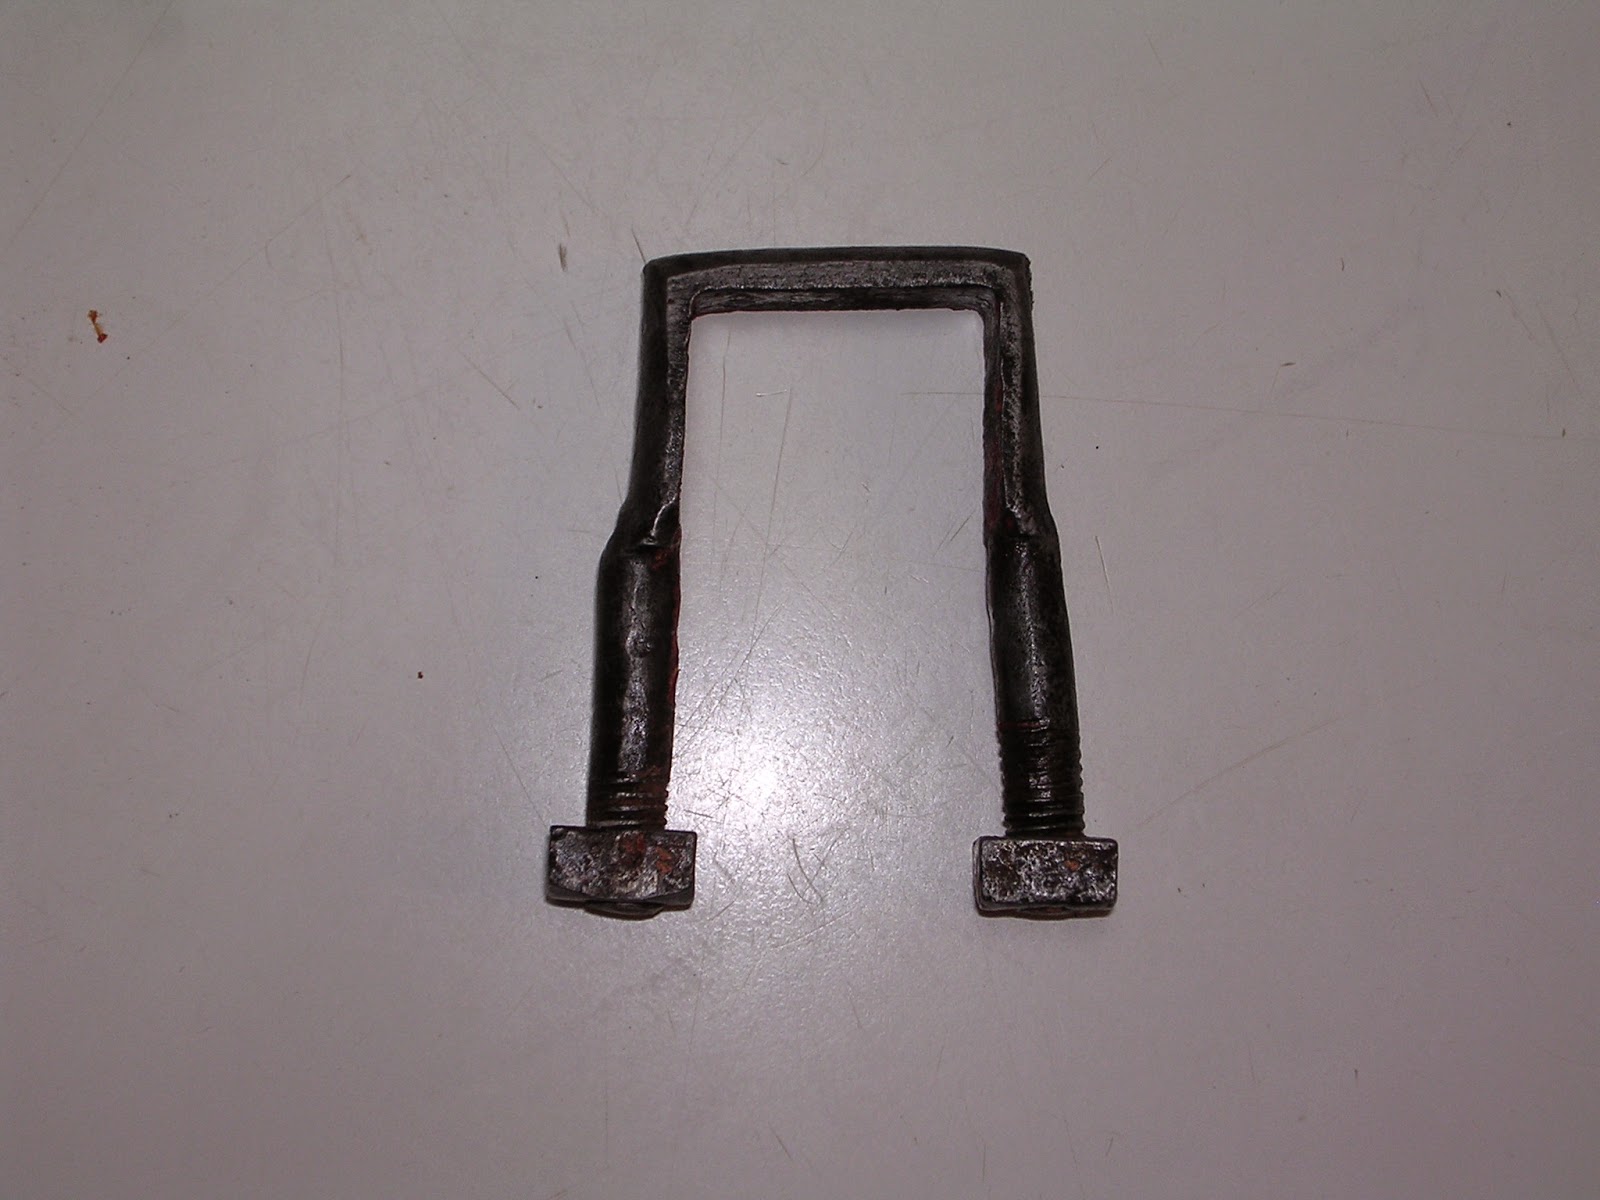
Remember this little fellow from the last post? He's got one 3/8" threaded stud and one 5/16" threaded stud.
Why?
Because he was made that way!
With few exceptions, the hardware on this carriage is all hand forged. Cleaning the crud off these hand forged clips revealed no damage (to either clip made like this). One stud is just a little thicker than the other one, and they were threaded accordingly.
If the blacksmith was good enough to hide any evidence of a repair, I don't think he'd let this inconsistency slip past him!
The secret life of carriages!
Metal Cleaning Begins
There are many ways to clean metal, with sandblasting probably being the most popular choice.
I don't use sand blasting for my own reasons.
I don't have a sand blaster.
I'm not fond of sending rare, carefully cataloged and grouped parts out to indifferent shops.
If you send the whole lot out for sand blasting, you immediately have the worry of re-rusting, and having to deal with a hundred pounds or more of rusting iron in a very short period of time is stressful.
So basically, I rely on elbow grease and practically free electrolytic derusting. Electrolytic derusting can be easily done in small batches, and cannot over-clean the metal. You can leave the parts processing in the solution until you're actually ready to do something with them.
One of the drawbacks is that you have to take the dirt and paint off first. The other major drawback is that the parts will flash-rust almost as soon as you take them out of the solution. Even though I oven-dried my first batch of parts, they quickly produced a film of light rust, and so the next step was to coat them lightly with a quality rust converter such as SEM Rust-Mort. This will hold them nicely until ready to surface them. Body fillers can be used over Rust-Mort.
Important update: After drying the parts with a rag, wiping them down with acetone seems to postpone flash-rusting.
Several small parts are presently hanging with a couple coats of Rust-Mort to dry overnight.
Rub Rollers
For those new to antique carriages, an explanation.
In days gone by, many thousands of buggies were produced in such a way that in a turn, the tire on the wheel would contact the carriage body. This could result either in body damage from the iron tire or worse, the tire could jam against the body with the disastrous result of having the buggy tip over!
In the case of iron-tired buggies, a "rub iron" projected out from the body in such a way that the iron tire would contact it, allowing the wheel to keep turning, and preventing damage to the body.
In the case of buggies equipped with hard rubber tires, the rub iron was not adequate. So the "rub roller" was invented. The above photo is one of the rub rollers on the project buggy, which has always had rubber tired wheels. That long slim bar is supposed to roll when the wheel hits it, so that the rubber will not bind, nor be sliced up.
Only you can tell from the wear on these rollers that they ceased to function properly a long, LONG time before the buggy was taken out of service.
New rub rollers are available from Amish shops, but the problem here is, the old mounting plates are curved to fit the underside of the springs, with special built in "stops" as opposed to mounting with two bolts on the flat underside of a buggy body.
My plan was to remove the roller and its shaft and replace them...until I cleaned the paint and crud off and put one of the plates in a vise, grasped the roller with pliers and...with very little effort...turned the roller! A little WD 40 had them spinning with ease, but with no looseness.
So NOW, the cunning plan is to simply put them on opposite sides of the carriage so that the rubber tires will contact the undamaged surfaces of the rollers.
AND keep them lubricated, and not painted in place.
Springs
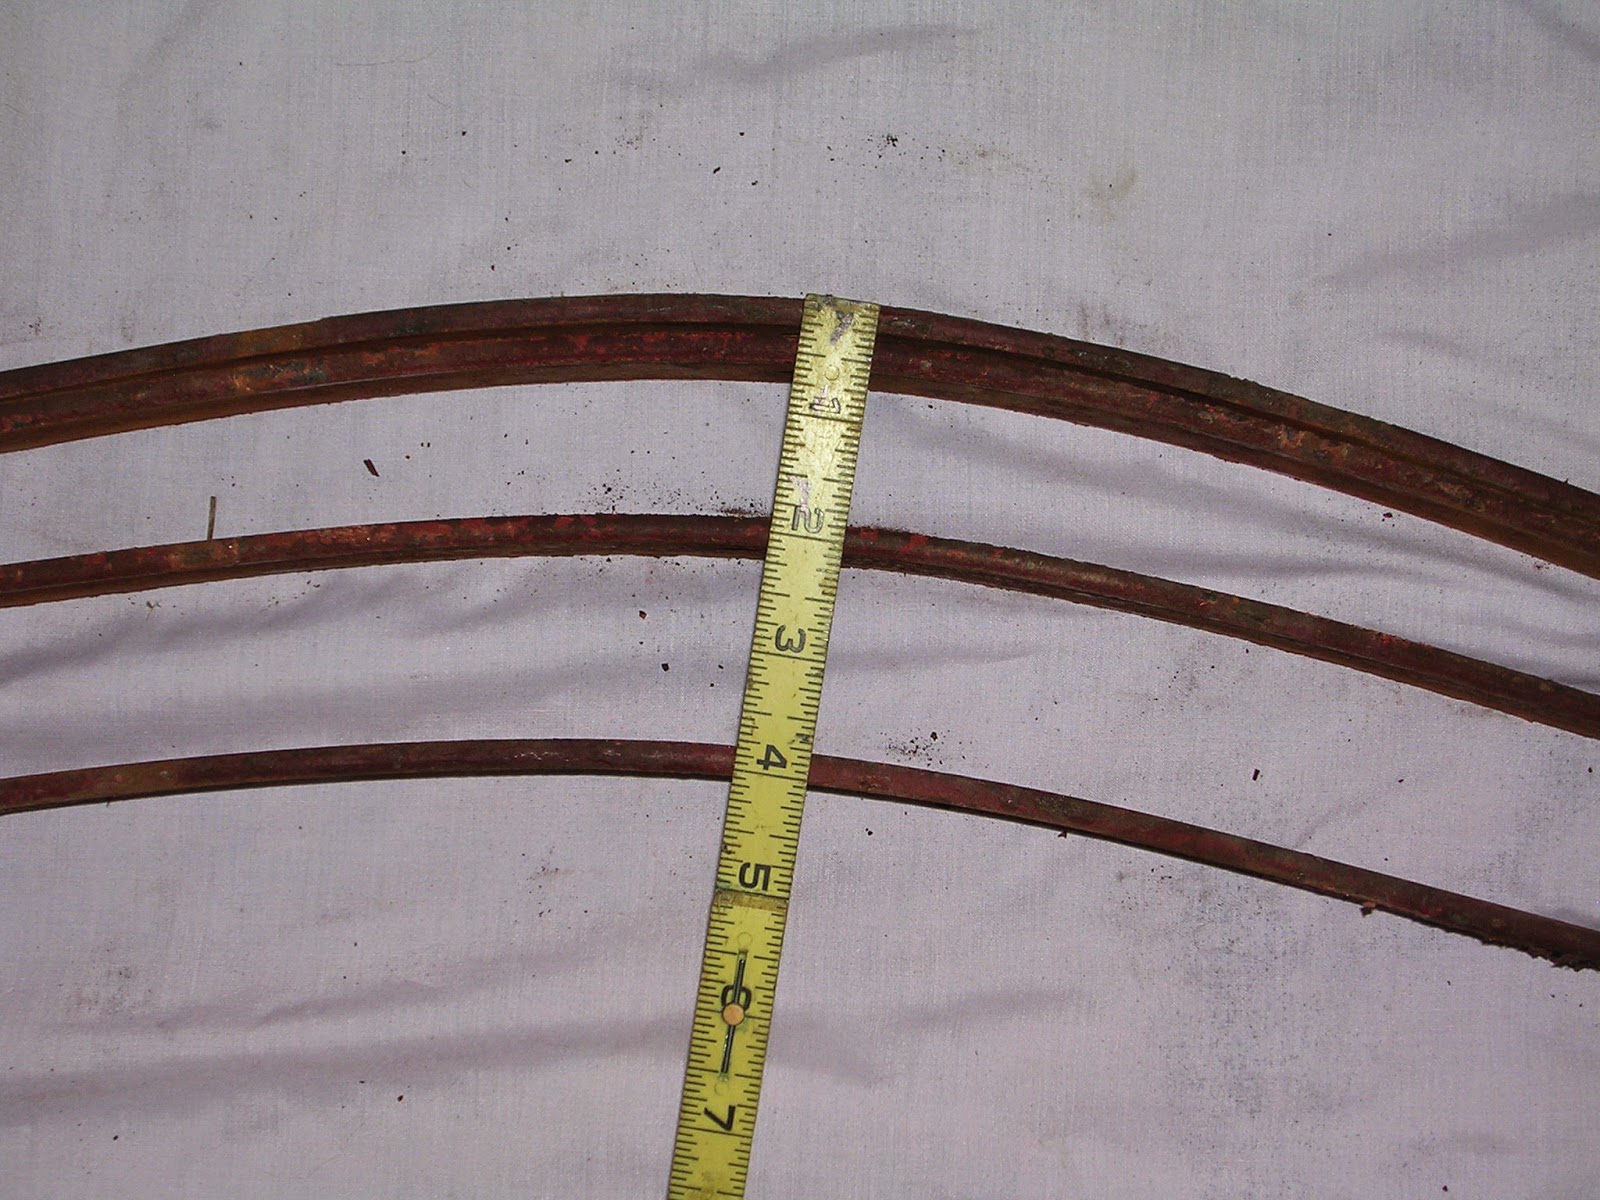
This is one full set of side springs, minus the leaves that join the front and rear axles.
Way back when I discovered that one body bolster was 1/2" shorter than the other, my friend and fellow carriage enthusiast, Kathy Ashford, pointed out that the right spring might be sagging owing to the driver always sitting on that side, and that one bolster was cut down in order to even the seat from side to side.
Something I hadn't thought of, despite being familiar with the phenomenon!
When the running gear was leveled up on saw horses, the distance from the bottom of both springs to the floor was identical.
However when the springs were un-compressed, the space between the highest point of the arch on the right hand spring was 1/2" less than on the left side. At least some of the spring leaves on the right hand side have sagged.
Fortunately, another carriage enthusiast and friend, Roger Murray, was on hand with a brilliant suggestion...why not swap a few of the leaves from side to side to see if the arches can be evened up?
This I did, swapping the two center plates from side to side. The result is that the un-compressed space between the spring leaves on both sides is the same; 4".
Now, a little bit more about springs.
The Carriage Museum of America has kindly granted me permission to quote excerpts from their out-of-print book, "Conservation and Restoration of Horse-Drawn Vehicles". So I will validate my decision to take this easy course of action instead of sending the springs out.
My first reason needs no explanation. These are not common springs. To break a leaf would be disastrous, and I want to take no unnecessary chances. The rest of this information comes to us courtesy of the CMA.
Antique spring steel has an unknown quantity of carbon in it. Incorrect tempering of steel of unknown carbon content may produce a spring that is too brittle or too ductile.
Modern spring makers, accustomed to working with modern alloys, can run into all sorts of problems when they suddenly switch to antique springs.
Springs do not lose their "temper" unless subjected to temperatures in excess of approximately 600 degrees. In order to insure the maximum performance of the steel, the heat treater has to deal with a very narrow margin of error in the final hardening process.
If the steel is too soft, it will not take the stress of bending and flexing.
If the steel is too hard, it will form stress cracks and eventually break.
If the spring is flexed past its maximum point of flexibility, it will move the grain structure of the steel and cause fatigue. This is probably the number one cause of fatigue. Usually the springs can be re-arched but this will not solve the problem if the same load is put back on.
There is an ideal height of arch for a spring which will cause the spring to bottom out before it reaches the over-stressed point. Over arched springs can easily be overloaded, causing them to exceed the maximum flex point. Under arched springs will bottom out before you get the full benefit from the spring.
These notes were provided for the book by Wana Coach and Company.
In light of the above information, and taking into account the many unknowns about the carbon content, original tempering, ideal arch, etc., it seems I neither want to re-temper, nor re-arch the springs. The most satisfactory route over all would be to have new ones made, but I wouldn't begin to have a clue where to have that done, nor do I believe it's necessary, given my plans for the carriage's future service.
The middle-of-the-road approach of swapping the leaves from one side to the other seems to be the ideal approach for now.


No comments:
Post a Comment