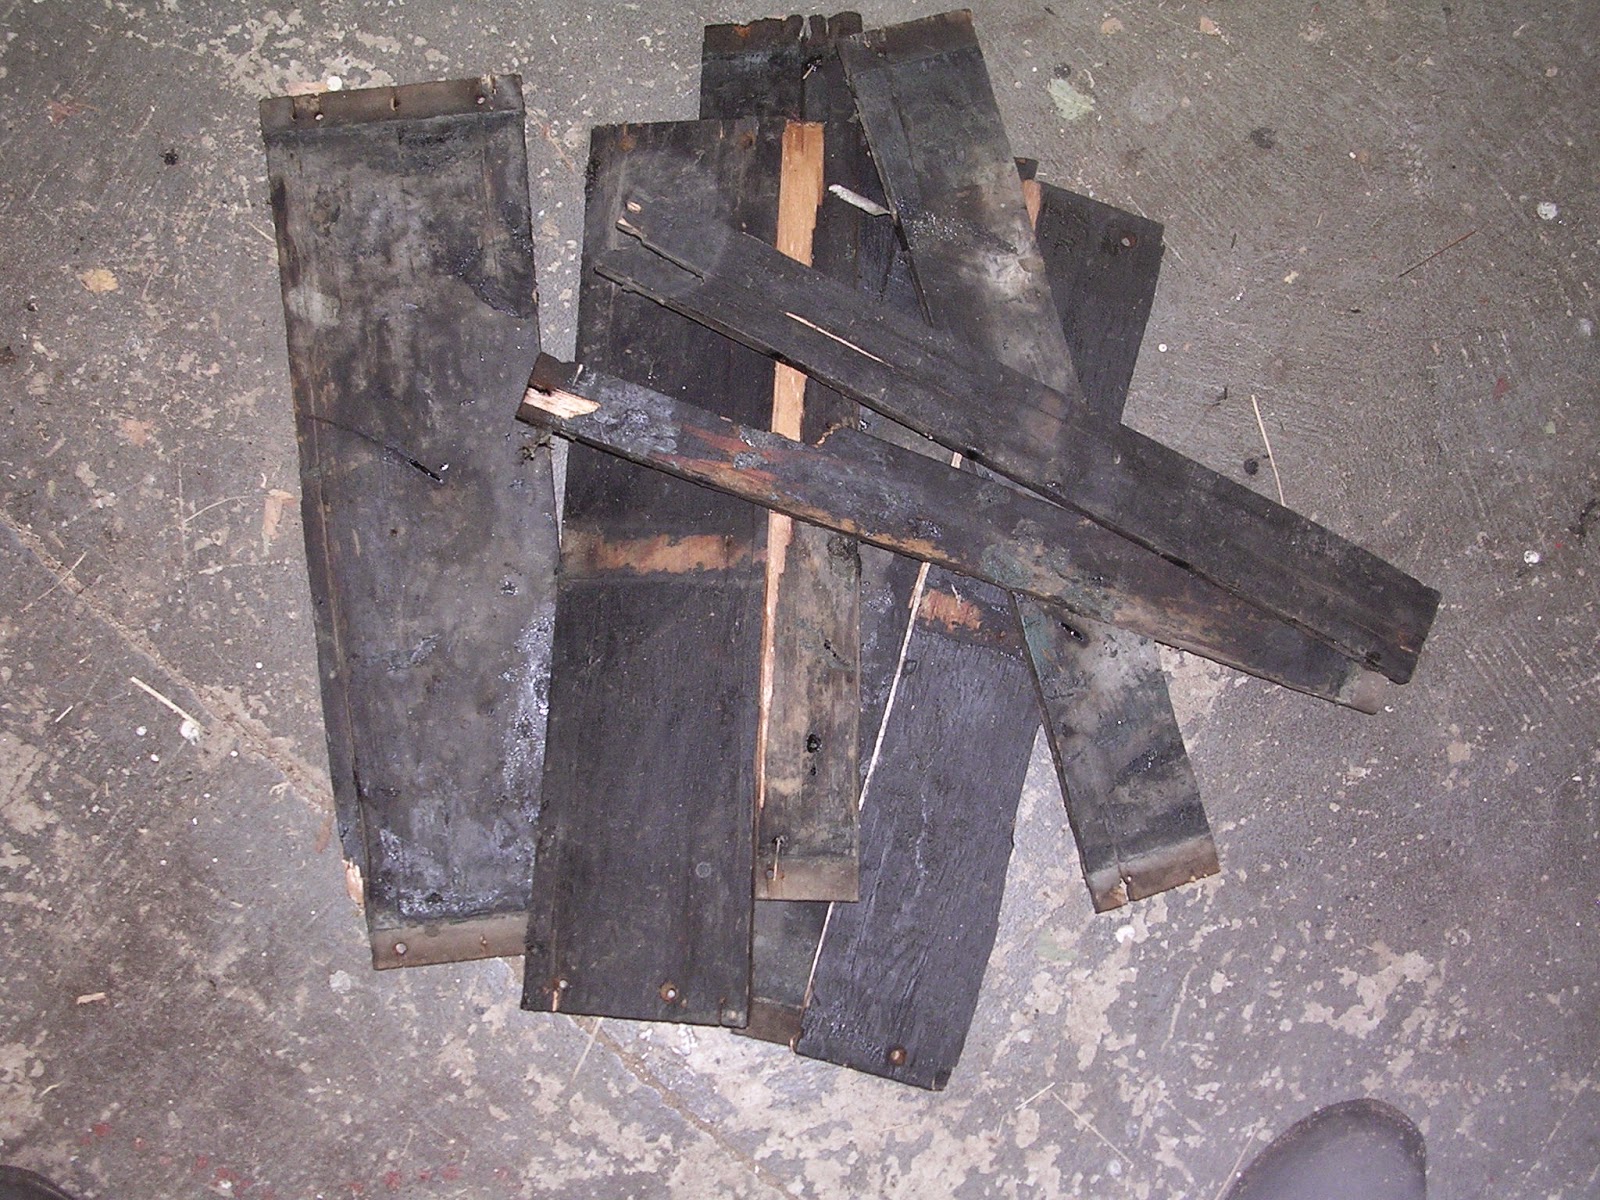
Hooray hooray! The wheels are home from the wheelwright! The only wood that needed replacement was the felloes (wooden rims) of one rear wheel. Apparently someone had tried to weld the iron tire/channel on in place and incinerated the ends of both felloes. Sadly, the original wood was otherwise sound. With that, the steel channel that encircles the wooden felloes (shrunk on with heat to bind the wheels together) was replaced on all four wheels as well as new hard rubber tires all the way around (for the non-carriage driving readers, many buggy wheels had hard rubber tires in the 1800's!)
The original rubber tires had just sort of melted into a puddle where the carriage sat, and all the steel channels were in danger of rusting and disintegrating (one did!), yet the wood endured.
Since I hate "doing" wheels, they will probably be the last part of the carriage to be repainted. In the meantime, all the bare wood has received a coat of penetrating sealer, and all the bare steel has been coated with Penetrol, a paint additive that doubles as an anti-corrosion treatment for metal. They are back on their axles, and jacked up off the ground for the present. Home, safe and sound!
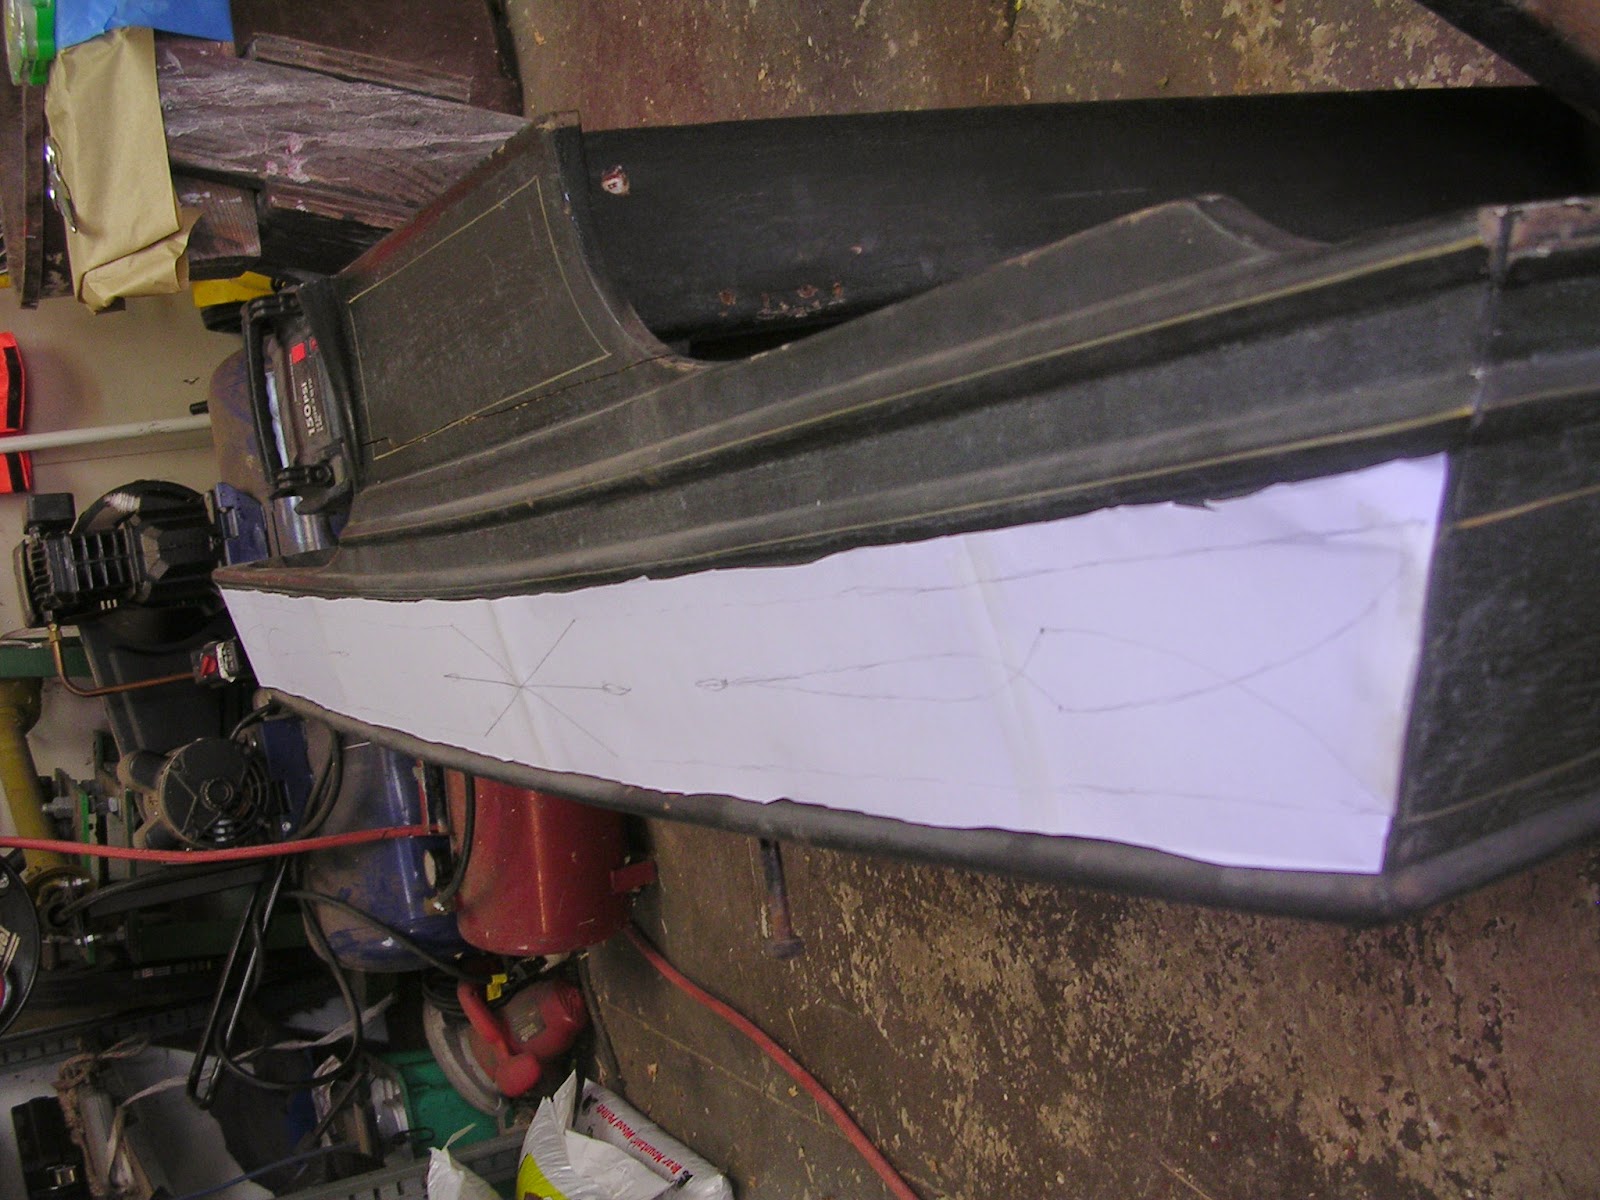
The next job is to refurbish the carriage body, and the first task is to trace this design, which I may or may not ever attempt to reproduce.
I did discover that this paint job is not original, so while the design is very pretty, nothing is holding me to reproducing it.
I want to prepare the body for paint, so that once I get my little paint booth set up, I can do both the body and the seat, which is still waiting for me to put an acceptable coat of paint on.
I traced the design on vellum tracing paper (it was very faint), rolled the tracings up and set them aside.
Time to strip the paint.
I began that task with a small hand held torch and the job went beautifully, until I tried to clean around the moldings. I ended up using chemical paint stripper and it was GROSS. The paint came off as a tarry slime, but it did come off.
I am so concerned about leaving the wood unprotected that I am only doing one side at a time. I'll strip, repair and seal this side before I proceed.
This may be an unfounded concern, but why take a chance?
The right side of the body is stripped and I can only marvel at the lovely condition of the wood, and the subtleties of workmanship that are beginning to appear. The body is screwed and the screw heads are perfectly covered with wooden plugs. There was no telltale mark in the paint to give them away.
The wood is carved in subtle ways that a casual observer would never appreciate. This is the part I dearly love about renovating carriages. The further I get into this restoration, the more I come to love the little vehicle.
The inside front surface of this panel (the right hand side of the photo is the front of the body) has been delicately convexed. The "rail" between the "seat riser" (the upper part that the seat is mounted to) is created by carving it into the panel. The seat riser itself starts out thin at the base of the rail, then widens steadily upward. You would never notice this lovely subtlety unless you were looking dead on at the panel from the rear, with the seat removed. All the corner pillars are concaved and scalloped, the seat pillars are rounded and carved so as to widen gracefully toward the top. The curved oak bottom sills are beautifully radiused. Such a lovely little piece of furniture!

The inside of this panel is now stripped, and this is a photo of the seat riser, flanked by its pillars, and at the top, the oak framing member that supports the seat. Through the center you see the greatest flaw in the body, a horizontal crack through the panel that goes from one end of the seat riser to the other. This crack is just above the "rail" that appears to divide the body and seat riser. This is what I need to fix.
My first task will be to stabilize the crack, and make sure the panel is firmly and permanently drawn together, in an attempt to keep the repair from simply breaking out. Fixing a cracked panel is very frequently unsuccessful, so all I can do is hope that my procedure produces a permanent repair.
An invisible repair, that is, stabilizing this crack, would most likely entail cutting and chiseling a groove all along the crack, then inlaying and glueing a strip of wood that fits precisely into the groove. The inlay could then be sanded flush with the surrounding surface. For some types of panel cracks, like, say, a sleigh dash, such a procedure might be mandatory, when the repair is going to be highly visible. The whole length of the crack you see here will be hidden under the seat.
The panel is only about 3/8" thick in the cracked area, which wouldn't leave much material if trying to inlay a repair strip in the above manner.
What I ended up doing was cleaning the stripped surfaces thoroughly and sanding with 80 grit. Using two part epoxy glue, I glued strips of 1/4" x 1-1/2" oak over the crack. When it is time to do the cosmetic work on this panel, the small areas that will be somewhat visible will be blended and faired into the surrounding surface as best I can.
A very small section of the repair strip at each end of the panel, on the inside of the body, will show. In the front, most of that will be obscured by a seat "fall", a small curtain that hangs down from the cushion, and in the rear, I believe that the repair will be overhung by the seat. The truth is, the way I've chosen to stabilize the crack is going to show a little bit when the carriage is finished. I simply haven't got the skills to make an invisible repair.
There is a similar crack on the other side of the carriage, and it will receive similar treatment.
I did notice some "wannabe" cracks at the front of the damaged panel which happily, my repair strip covered.
The little carriage body, bristling with clamps! It is said that all glueing should be performed as early in the process as possible, to allow for shrinkage, etc. Tomorrow, after the glue has set up, I'll deal with actually repairing the crack. This part of the job was only to stabilize it and prevent it from moving.
Next Day...
I had a great deal of indecision about what method to use to fill the crack. However, when I went out today to commence repairs, I found that the epoxy glue I had used on the backing strips had intruded a fair way into the crack, leaving more of a "deep gouge" in the outer surface than a crack to fill. The crack itself is very narrow. I used a utility knife to carve a sliver of wood away from both edges of the crack to create a "new surface" and ended up filling the crack with Pettit EZ-Fair epoxy fairing compound. Three hours later, the epoxy was cured enough to sand away the excess and this is what the repair looks like, viewed from the rear. The wood is only about 3/8" thick where it is cracked.
Viewed from the front. The fairing compound was used to build out the chipped end of this molding.
Note: This is the type of repair the fairing compound is made for. "Bondo," automotive body filler, is not. The EZ-Fair can be applied up to 3/4" thick.
One nice thing about the EZ-Fair is that it is the consistency of paste wormer and flows perfectly through a common throwaway syringe. The crack was less accessible at the front and under the molding and I was able to squirt it in to the full depth of the crack and under the molding like using a mini-caulking gun.
Had the crack been wider, I'd have probably used something more like liquid epoxy and a wood filler of some sort. There are so many different methods to fix cracks, and really, only time will tell which repairs will be permanent. Wood has a tendency to "move", especially once it's reached the stage where it's actually cracked. Repair materials don't move at the same rate, if at all. It wouldn't surprise me if over time, this crack remained fixed, but the panel cracked somewhere above it. I hope not!
And a shot from the side. The seat riser and repair have been sanded with 100 grit dry. Tomorrow I have the actual pleasure of going over the nearly flawless panel with a fine toothed comb, looking for wounds that need to be faired. 100 grit to remove any remaining paint, 150 grit, then probably bounce up to 220. Then a coat of penetrating sealer to protect this panel while I attack the other side!