Welcome Spring! And Painting Weather! Carriage restoration activities resume...
When last we met, I had been able to reassemble the wee buggy and take it for a couple of quick drives, then it went up on blocks once again, awaiting better weather and some refurbishing of the air compressor in anticipation of priming with a spray gun.
Over the weeks I have been able to put one more good final sanding on the sealed wheels and spot prime all the metal bits. I taped the rubber tires with electrical tape to avoid getting paint on them.
We received some excellent information about getting the best performance out of our small compressor and voracious HVLP paint guns, so hubby shortened hoses, eliminated as many air-restricting quick-connectors as possible and set up the wimpy little oil/water trap on the line. I went over my spray guns to make sure they were lubricated and in good working order.
And then the odd days of "paintable" weather began showing up!
Months and months of preparation are behind me. It is now time to start FINISHING!
The first parts to receive primer are the wheels. I am painting outdoors because I'm not too concerned about the odd gnat or pollen sticking to the primer at this point. When it comes time to apply the finish coats, we'll have to erect a more dust-free structure.
Anyway, some notes about the current project. Let me state that I do NOT know enough about spray painting to be good at it. My results are uniformly variable, but hopefully we've dealt with some of those variables and I can hope for a reasonably nice result. People who are skilled with automotive paints will think I'm nuts to go through these old tedious procedures, but I don't paint often enough to learn the newer materials and techniques, and this will be my last restoration, so I'm not likely to acquire any better skills.
One deliberate omission in the preparation of these wheels was filling grain. I knew that if I applied filler to the wheels and had to face sanding it off, I'd probably wander off into the woods at the prospect of all that work, never to be seen or heard from again.
Instead, I am relying on this "high-build" primer to do the job for me. It is THICK with solids and even when thinned, takes a spray gun with a large enough orifice to deliver the material successfully. This is a very high quality marine paint product.
To thin the paint for spraying, I used the companion product.
Now, here's a quirky note. With these types of paints, thinning the product is "seat of the paints" as opposed to following label directions. In the past, I was thinning paint to a certain viscosity at a certain temperature, but I was actually SPRAYING the product after it had sat in a cold shop overnight! Something tells me that my variable results in the past had partly to do with not keeping the paint at room temperature. So as this project progresses, the painting materials are actually going to come in the house overnight to keep them at room temperature,on the assumption that the viscosity of the paint changes with the temperature!
So, if we don't have a "magic formula" for determining paint viscosity for spraying, how do we know how much to thin the paint? We use a viscometer.
This is a "Ford #4 Viscosity Cup". You dip the cup into the thinned paint and count the seconds it takes for the material to completely run out the hole in the bottom of the cup.
Here is a
viscosity chart that tells how much time it should take for a given material to pass through the cup. For my purposes, 25 seconds is about right. It takes roughly nine ounces of thinner in a quart of THIS PRIMER to achieve that rate.
HOWEVER! The next question is whether the paint gun can handle the high-solids material that I am about to spray.
My last project convinced me that investing in a gun JUST for priming was a smart move. None of my equipment is top of the line, but neither are they Walmart paint guns. This is an air-guzzling DeVilbiss Starting Line HVLP gun, with a 1.7mm needle and tip set. It is robust enough to handle the high solids primers, but the tip's a bit big for finish coats, so that's all it does - primer.
Different size needle and tip sets can be purchased for most paint guns. I had already purchased a nice gun before this one that came with various tip-and-needle sets; 1.3mm, 1.4mm, 1.5mm and 1.7mm. I don't really recall the reason I thought I had to purchase a separate gun for priming, except perhaps that I was deathly afraid of partially dismantling the gun to change the needle and tip. I have since learned to be less "afraid" of the gun and the next blog post will outline some discoveries I have made about the importance of tip-and-needle selection...at the time, I was laboring under a great lack of knowledge. Still am.
This gun requires a very high volume of air - which is what "HVLP" stands for; "High Volume, Low Pressure". The reason I'm telling you this is in case you're about to dash out and buy a spray gun. Your results are only going to be as good as your air supply, so you need to know whether your compressor can deliver enough air to it to make the gun work properly!
I didn't know this when I bought this gun! I didn't know ANYTHING when I bought any of my three guns!
This is the tag on the air compressor. The gun requires 11 SCFM at 40 PSI in order to atomize the paint properly. As you can see, the compressor is BARELY adequate to operate this gun, delivering 11.5 SCFM at 40 PSI. Note that the air volume DECREASES as the PSI INCREASES. So getting the max of 30 PSI at the gun by raising the pressure at the compressor is self defeating.
We were advised by the spray gun seller to SHORTEN the hoses to no more than 30 ft, and to use 5/16" - 3/8" minimum diameter hose. In addition, eliminate all quick-connects if possible and if not, use only high-volume connectors, which until two months ago, I did not know existed.
After doing all this, it is still impossible to maintain 30 PSI at the gun inlet with the compressor set at 40 PSI. I have raised the pressure to 50 PSI and am still getting only about 25 PSI at the gun.
Despite the inadequacy of our compressor, the gun is doing a perfectly good job of applying PRIMER. I wouldn't want to use it for applying finish coat, because atomization might be poor. I have enough problems with final results. My other two guns have similar air volume requirements.
The bottom line is, IF you are about to buy yourself a paint gun for painting your OWN carriage, do some research and buy from somebody who can answer your questions! Make sure that your compressor can feed the gun that you buy with enough air. This applies mostly to HVLP guns. "Conventional" guns I believe, work at higher pressure, but much lower SCFM. So there's another option.
LET THE PRIMING BEGIN...
The stripped wheels spent the winter under a protective coating of clear wood sealer. Aside from protection in long term storage, the wood sealer will allow the high-build primer to better fill the open grain of the oak spokes and felloes. Prior to priming, I sanded each wheel carefully with 220 grit dry sandpaper to prepare the wood for good adhesion as well as removing any little fuzzies left from the stripping process.
After setting the gun at an appropriate spray pattern, I shot on the first coat of primer. The instructions on the paint can indicated 24 hours dry time and a light sanding with 220 grit between coats. Follow the instructions. Despite the fact that this primer dries to the touch within minutes, there is a potential disaster lurking called "solvent popping" if you don't allow enough time between coats for all the solvent to evaporate.
MORE SANDING??? Yep. And more to come. The sanding between coats is just a kiss of the sandpaper on the primer. It's like sanding a piece of chalk. You just want to scratch the surface for good adhesion.
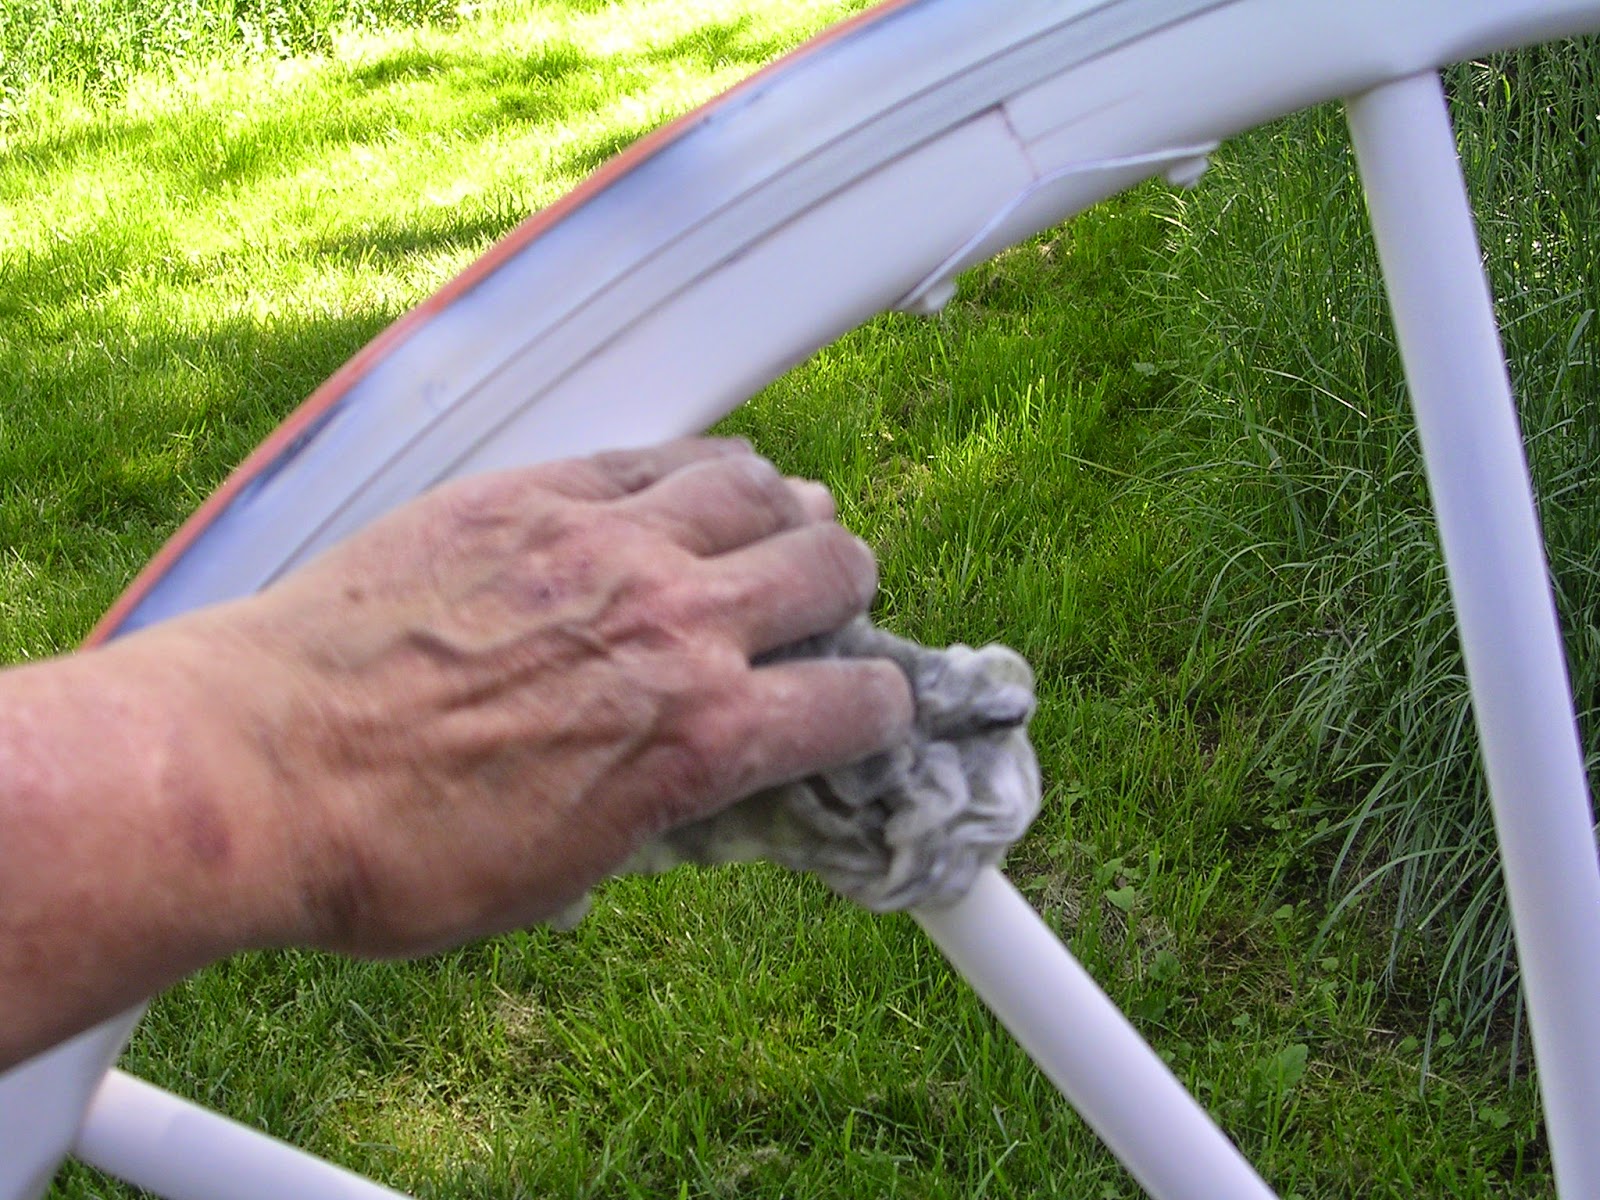
Following sanding, the wheel is thoroughly blown off with compressed air, followed by a thorough wipe down with a degreasing product such as this one (gets fingerprints, etc. off).
Wiped with a "tack rag", a specially treated, sticky piece of cheesecloth which picks up the remaining dust.
Then the next coat is sprayed.
I forgot to mention that when pouring mixed paint into the paint cup on the gun, ALWAYS run it through one of these cone-shaped paper filters. Every time you open your can of paint, it is liable to pick up contaminants that can clog your gun!
ONE BIG CONCERN...
After removing 99% of the paint from the wheels, applying a coat of sealer and two coats of primer, I have red pigment blushing through the white primer! I have not inspected the third coat yet, but I'm hoping that after a few weeks drying time between coats #2 and 3, the pigment may have bound with the second coat. I am worried that I will get some bleed through in my final, pale yellow paint, and I'm not entirely sure what to do about it. There is still time, if anybody has a suggestion.
UPDATE
The red pigment ceased to bleed through after the longer drying time between coats 2 and 3.
CLEANING THE GUN
There is NOTHING worse than being all set to spray, pulling the trigger on the gun and nothing comes out but a pathetic sputter! WHAT HAPPENED! You spent tons of time cleaning the gun the last time you used it and STILL it's clogged!
This has happened to me so many times. Not anymore.
The first thing I learned is that paint thinner/solvent/naptha/mineral spirits are worthless for cleaning the gun. I go for the lacquer thinner.
After I drain the remaining paint out of the cup back into the paint can, I wipe it out with a paper towel or clean rag. Then I pour a small amount of lacquer thinner into the cup, put on the lid, slop the thinner around a bit and discharge it through the gun into a wadded up old tee shirt.
Then I take the cup off. I pour a wee bit of thinner into the gun through the cup orifice and discharge it, just to "hold" the gun while I tend to the cup. Using lacquer thinner, I clean out ever speck of paint inside the cup. Then I turn the cup over, and wallah! the threads and the throat of the cup still have a ton of paint on them! Out comes a cheap natural bristle paint brush, dipped in lacquer thinner to wipe every speck of paint off the threads and inside the throat of the cup. I blow the thinner out with compressed air and make sure the threads and throat of the cup are sparkling clean before wiping every possible trace of paint off the exterior.
Once the cup is clean I tend to the cap. It gets the same treatment with lacquer thinner and brush. Make sure the vent hole on top is clear of paint. Blow it off with compressed air.
YOU HAVE TO MAKE SURE THAT EVERY SPECK OF LACQUER THINNER IS EVAPORATED, OTHERWISE IT WILL RUIN YOUR ENAMEL PAINT!
With the cup and cap clean, now I go after the gun! Basically I pour lacquer thinner into the cup orifice and blow it out into a wadded up rag, until it sprays clean. However, I've found that there's usually still some lurking pigment dissolved in the lacquer thinner.
So I blow the opening out with compressed air, repeating the process until no more pigmented thinner remains.,
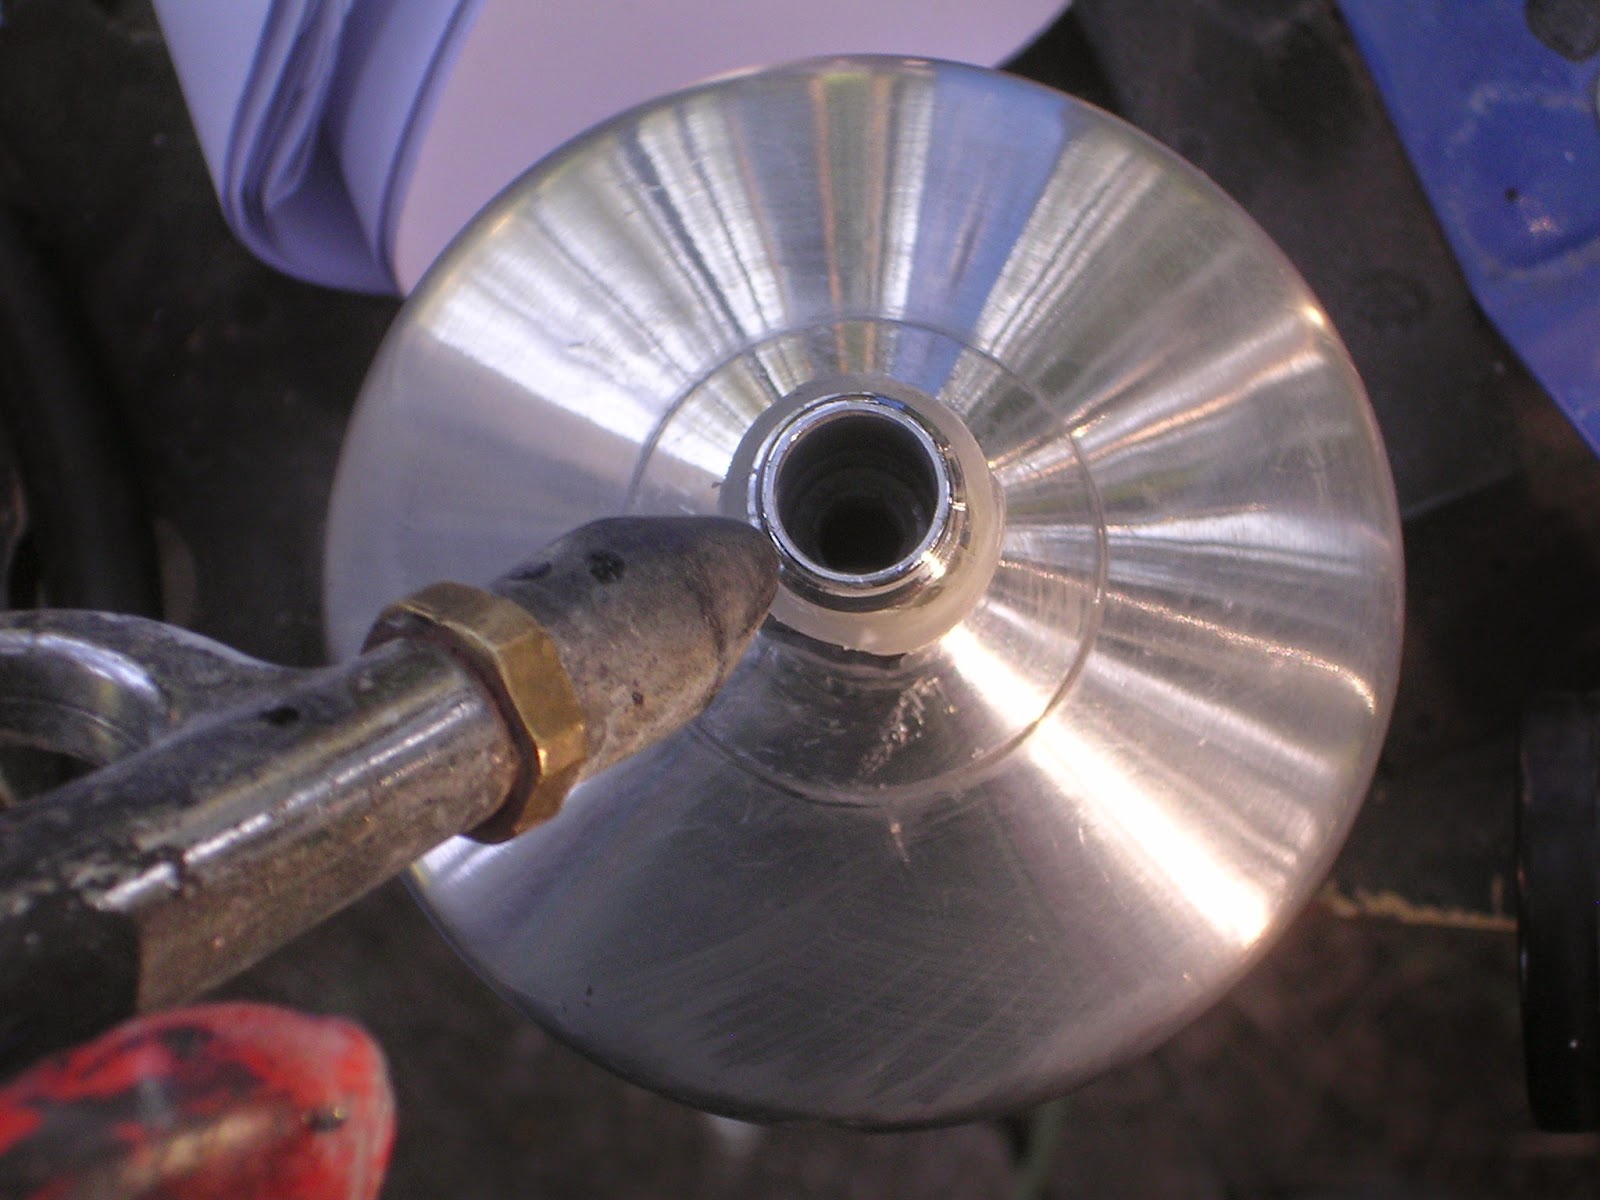
Next I remove the fluid needle and wipe the tip as it ALWAYS still has a tiny bit of paint on it!
After reinserting the fluid needle I remove the cap and inspect the tip and airways, they are usually spotless. The cap is inspected inside and out. It's usually spotless inside, but probably needs a wipe on the outside. It is then replaced, the cup is reattached and the entire gun is wiped down with thinner and polished with a clean dry cloth.
It may take ten minutes to thoroughly clean the gun, but it will save hours of frustration caused by doing a half baked job!
At this writing, Coat #4 is scheduled to be shot on this afternoon. Several days of unsettled weather are coming up, which will be perfect for a final WET sanding in preparation for top coating the wheels. This will not take place until the shafts and running gear are similarly primed, which should put us just about at the peak of good painting weather! See you then!