
The paint came off the seat today.
And the carriage began to tell its story.
The whole original plan for restoring the seat was thrown out the window in less than 24 hours.
At some point in her life, she has suffered some sort of calamity!
I tried the heat gun to strip the paint but it turned the paint gooey, so I resorted to chemical stripper.
The paint came right off the bottom panel of the seat back (upturned, obviously), but then there wasn't much paint left on it anyway, and it has always looked curiously like Douglas fir, a grainy wood that no carriage builder would typically use for a body or seat panel.
In sharp contrast, the paint on the upper seat back scraped off like tar, and revealed an armor of lead filler over pristine poplar.

The side panels? Also poplar.
The bottom of the seat is framed in oak.
Ah, but do you see that big gap between the lower seat back panel and the side panel? NOT shrinkage. A mis-cut!
There was a wooden shim in there. That piece of wood is not original material. Several other clues point to the fact that the lower seat panel was replaced with inferior wood, slightly mis-cut and VERY poorly finished.
So now we know that the gap between the upper and lower seat back panels was a pretty-fair-but-not-perfect attempt to match the original arch and angle. No shrinkage. It explains why all the fasteners on the inside of the seat are mismatched, why some screw tips peek through the exterior of the wood, even though they're not screwed all the way in. It explains why those corner blocks inside the seat are ratty on the bottom, and yet are painted over. It explains why one of the wheels has charred felloes from a re-tiring. It explains why there is black paint with red fine lines on the shafts, which are painted red with black lines, under the leathers, and why the shaft ends have been obviously broken off and fitted with tubular steel replacements.
This old girl had a trip to the collision repair shop a long, LONG time ago!
A skilled woodworker might try to re-do that panel. She is not me. I have epoxy and I'm not afraid to use it!


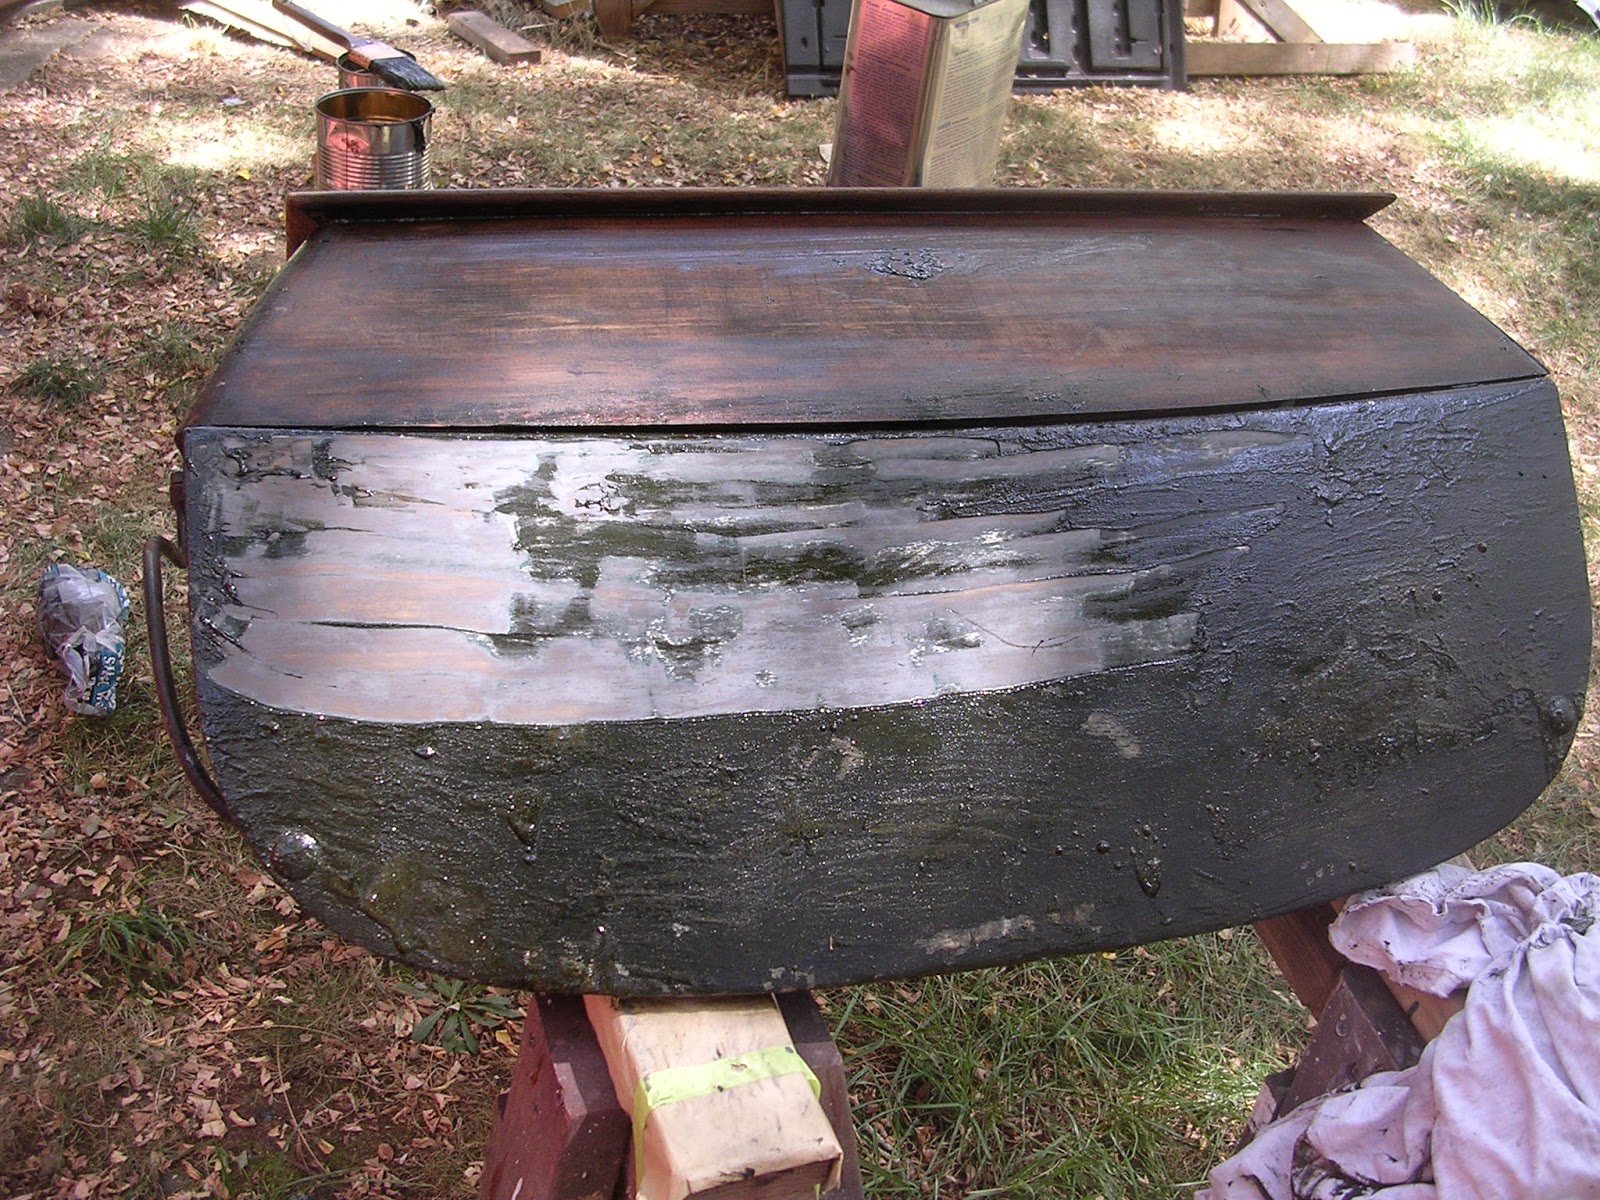
Before sealing, the lower back panel will receive a coat of this neat stuff, Pettit's "fairing compound", a material for smoothing surfaces on boats. This will help fill the grainy surface of the fir and make painting easier later on.


Fascinating! You are the Temperance 'Bones' Brennan of carriages.
ReplyDeleteCara In Milpitas, CA